TIGHT
Light · Tight
For printers with negative drift.
Print fitting_TEST first. Confirm the offset. Then print the full calibrator on the same printer + resin you'll use for production. The geometry of this part anchors the entire system.
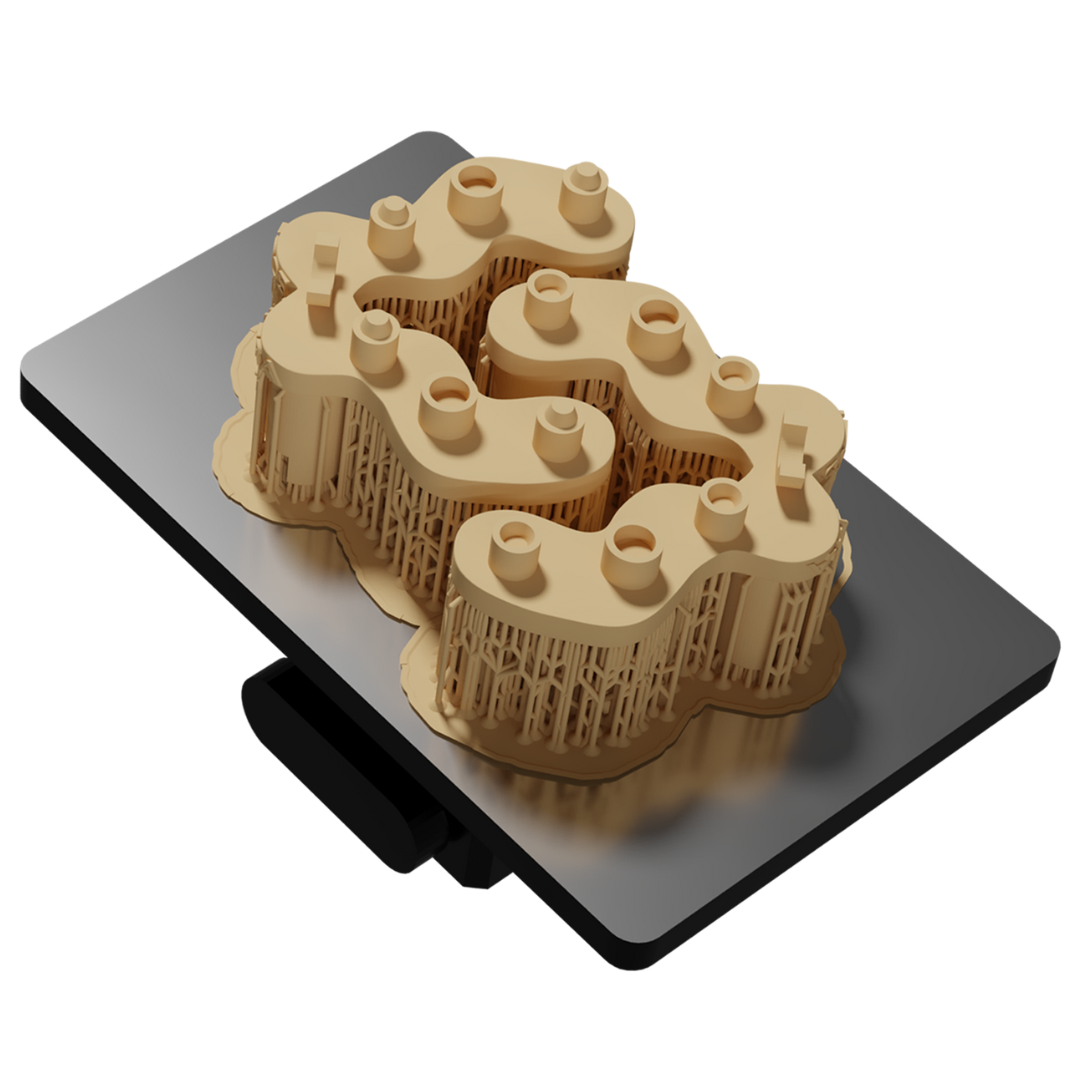
The fitting_TEST is small, fast, and proves that your offset choice produces the right fit on this printer/resin combo. Skipping it means burning the full calibrator with the wrong offset. Don't.
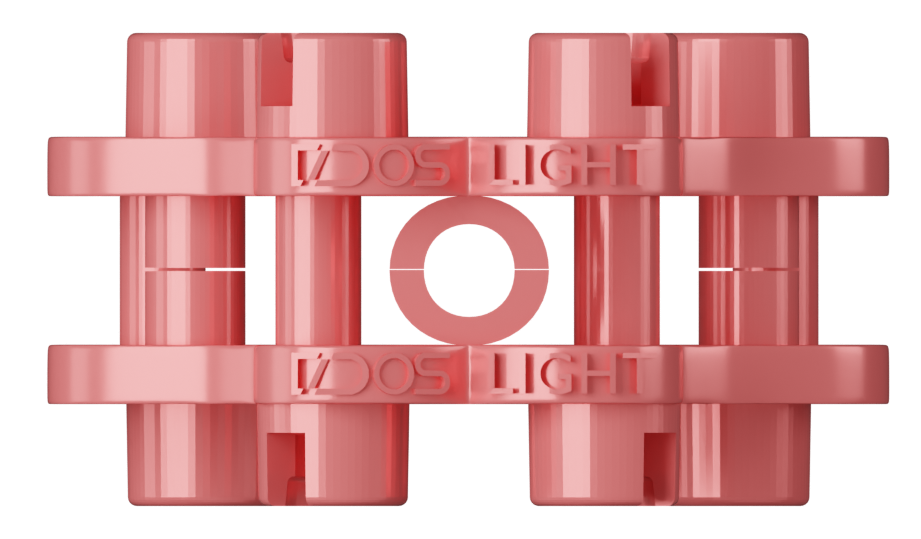
Pick your tier (Light or Ultra — set when you bought the kit) and your offset (Tight, Standard, or Loose — set by your printer/resin). Each combination is a separate STL. Standard is the default for most printers. Tight = printer prints undersized. Loose = printer prints oversized.
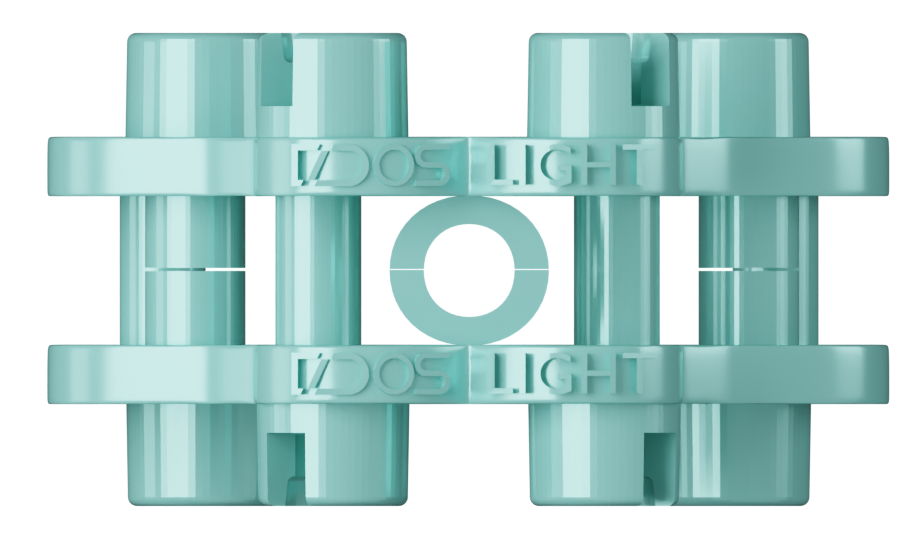
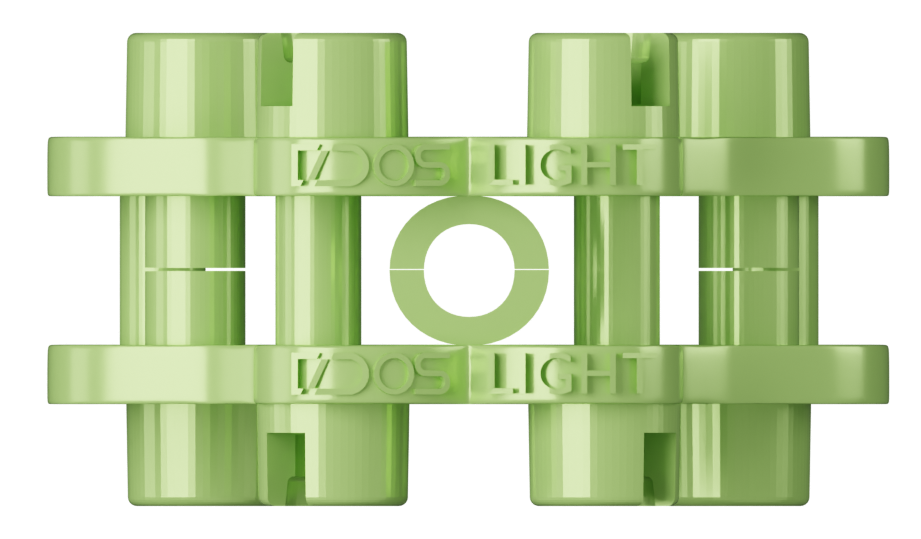
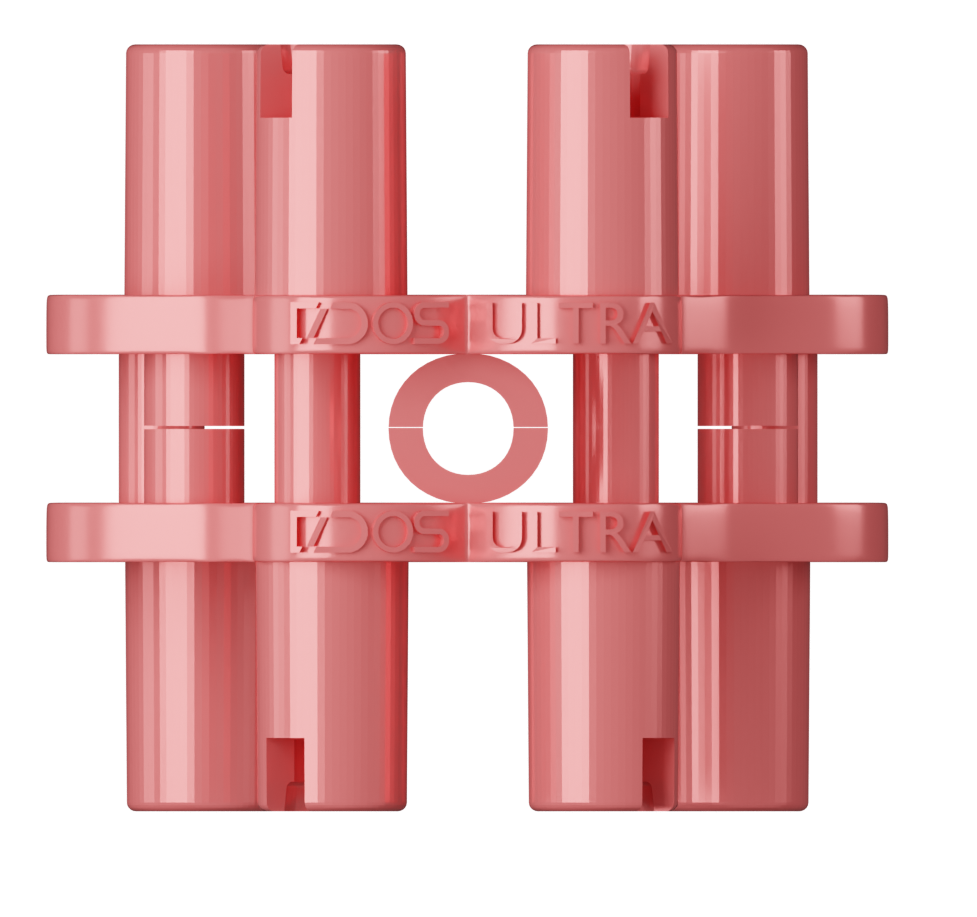
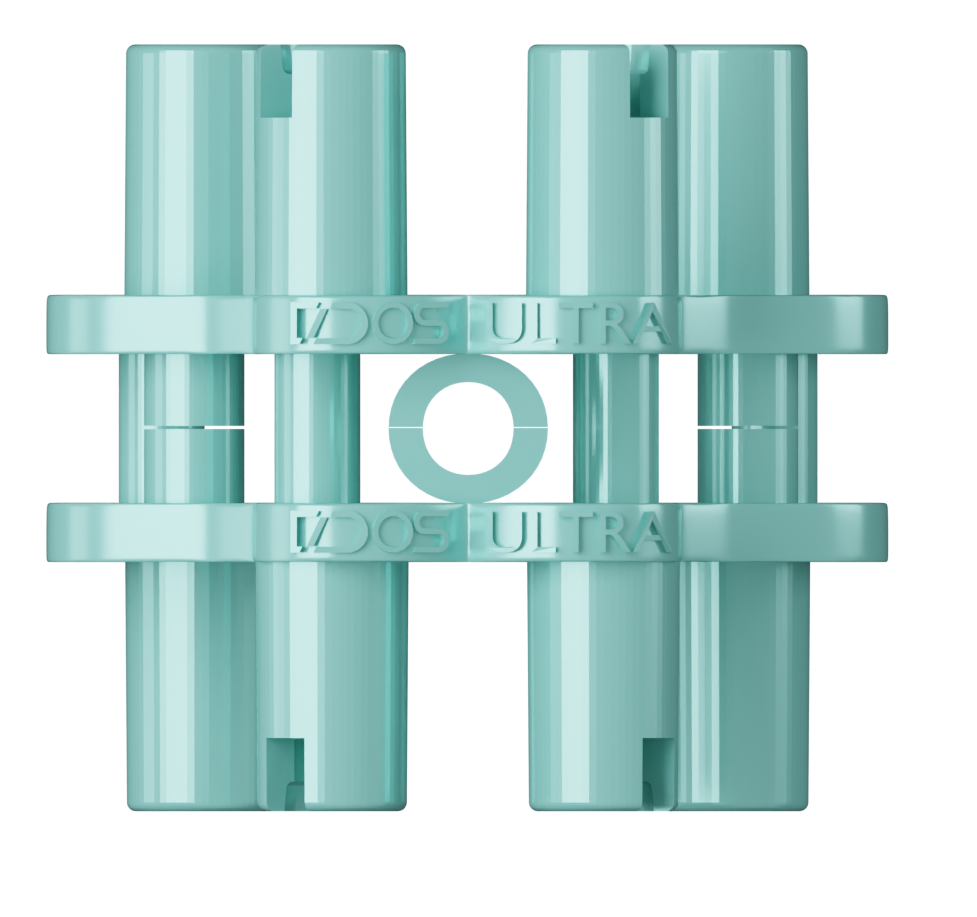
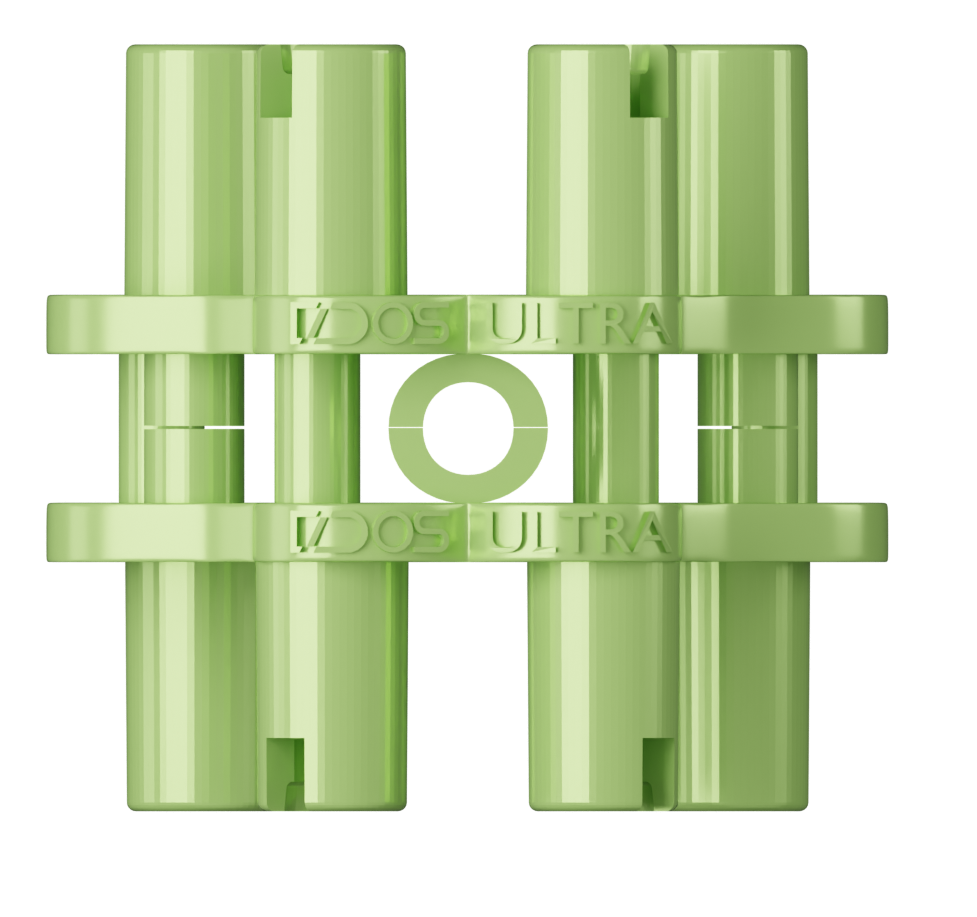
Colours are presentation-only — the printable STL is a single grey/cream resin part. The colour code helps you remember which offset you chose at the bench.